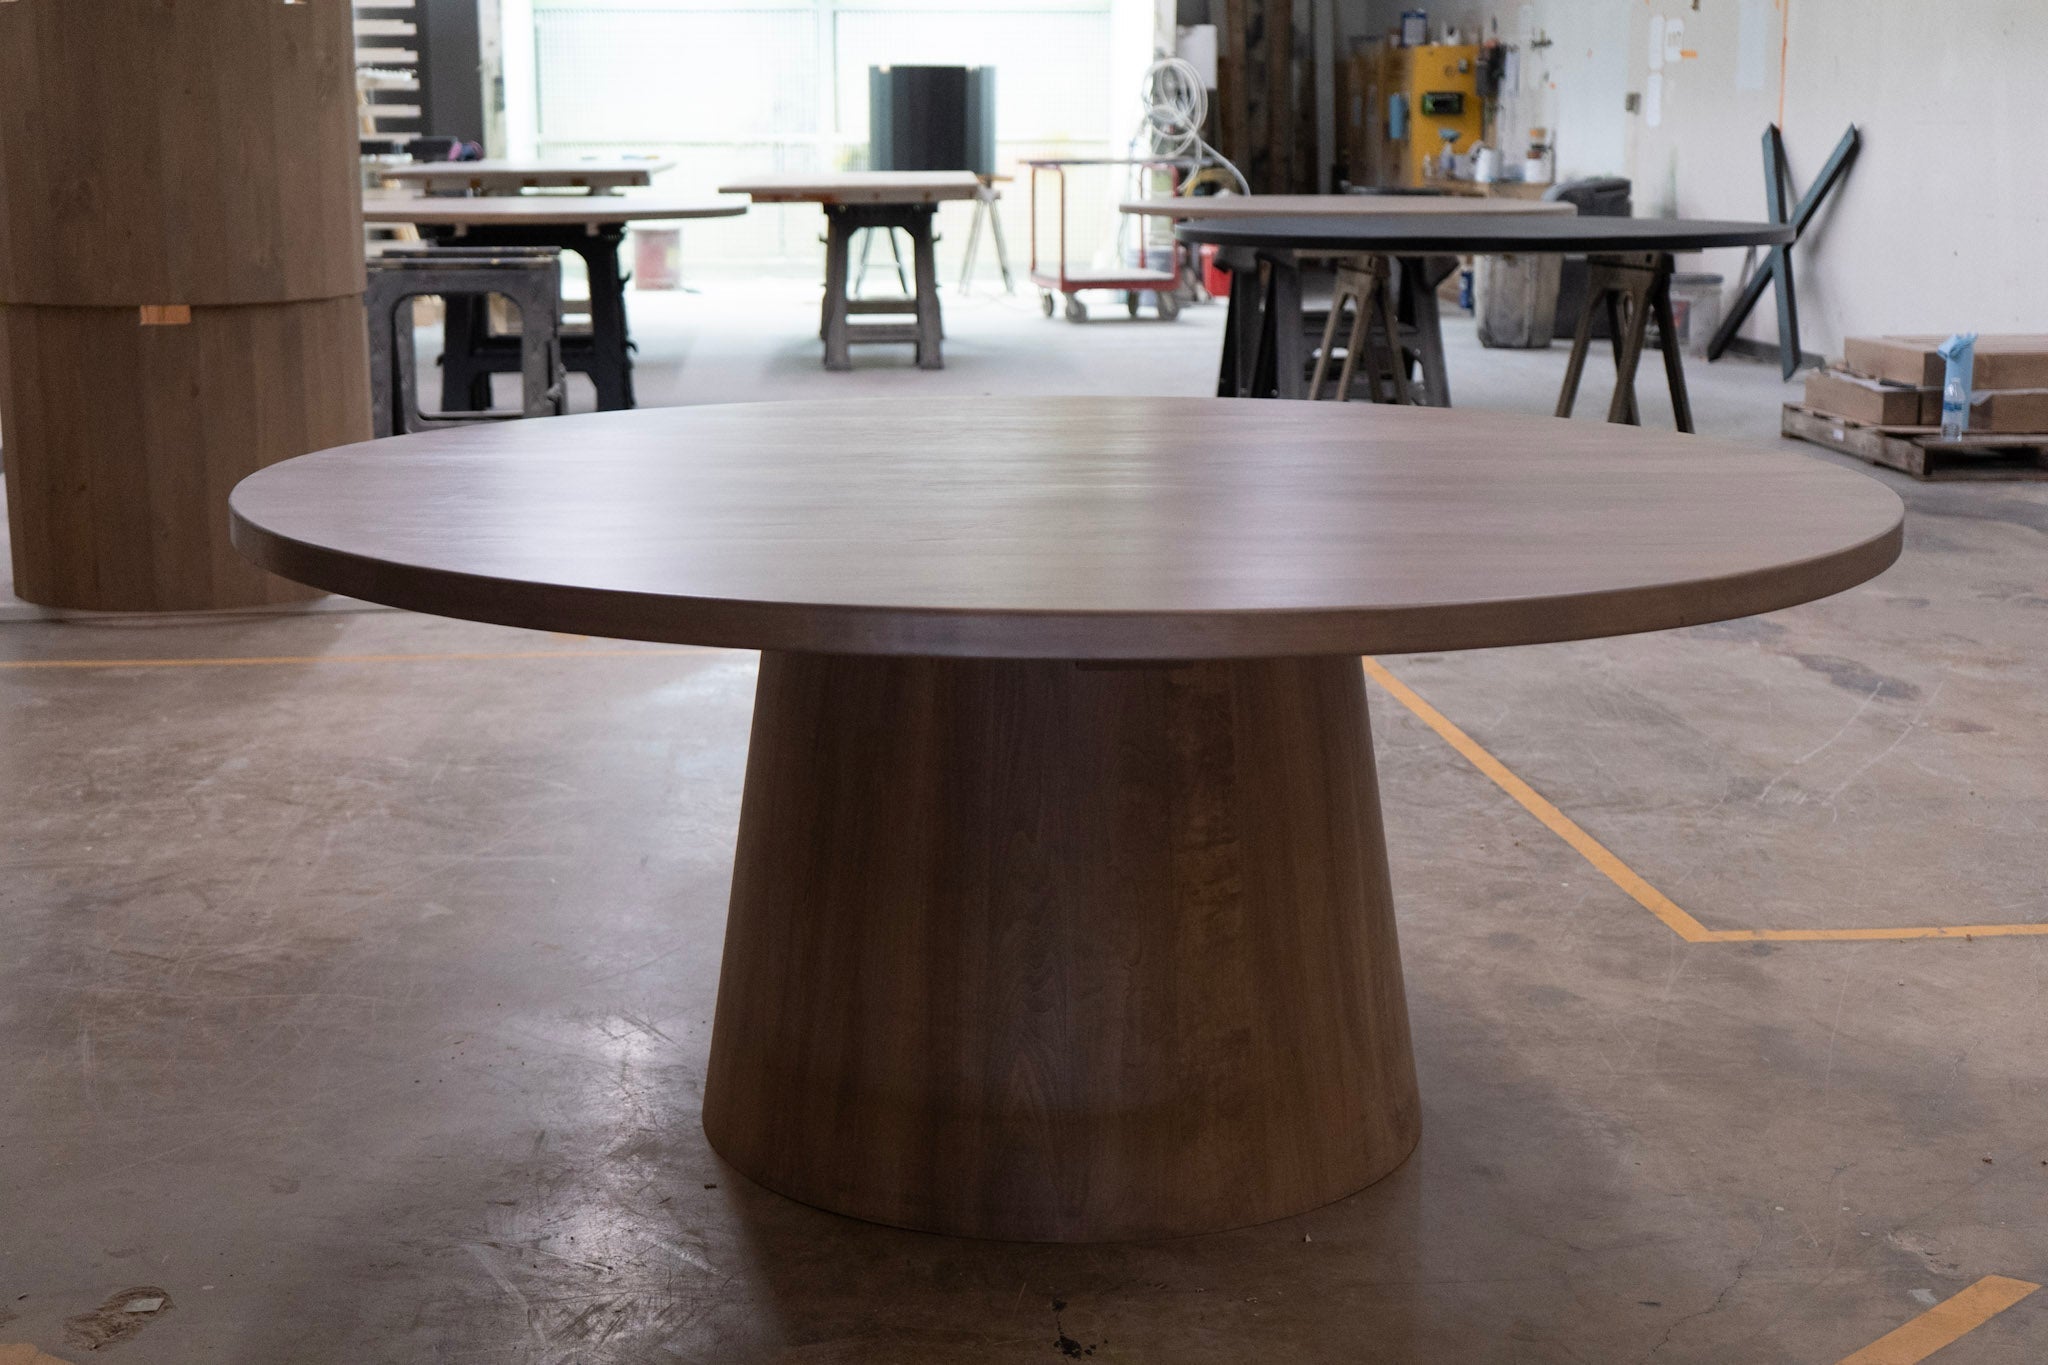
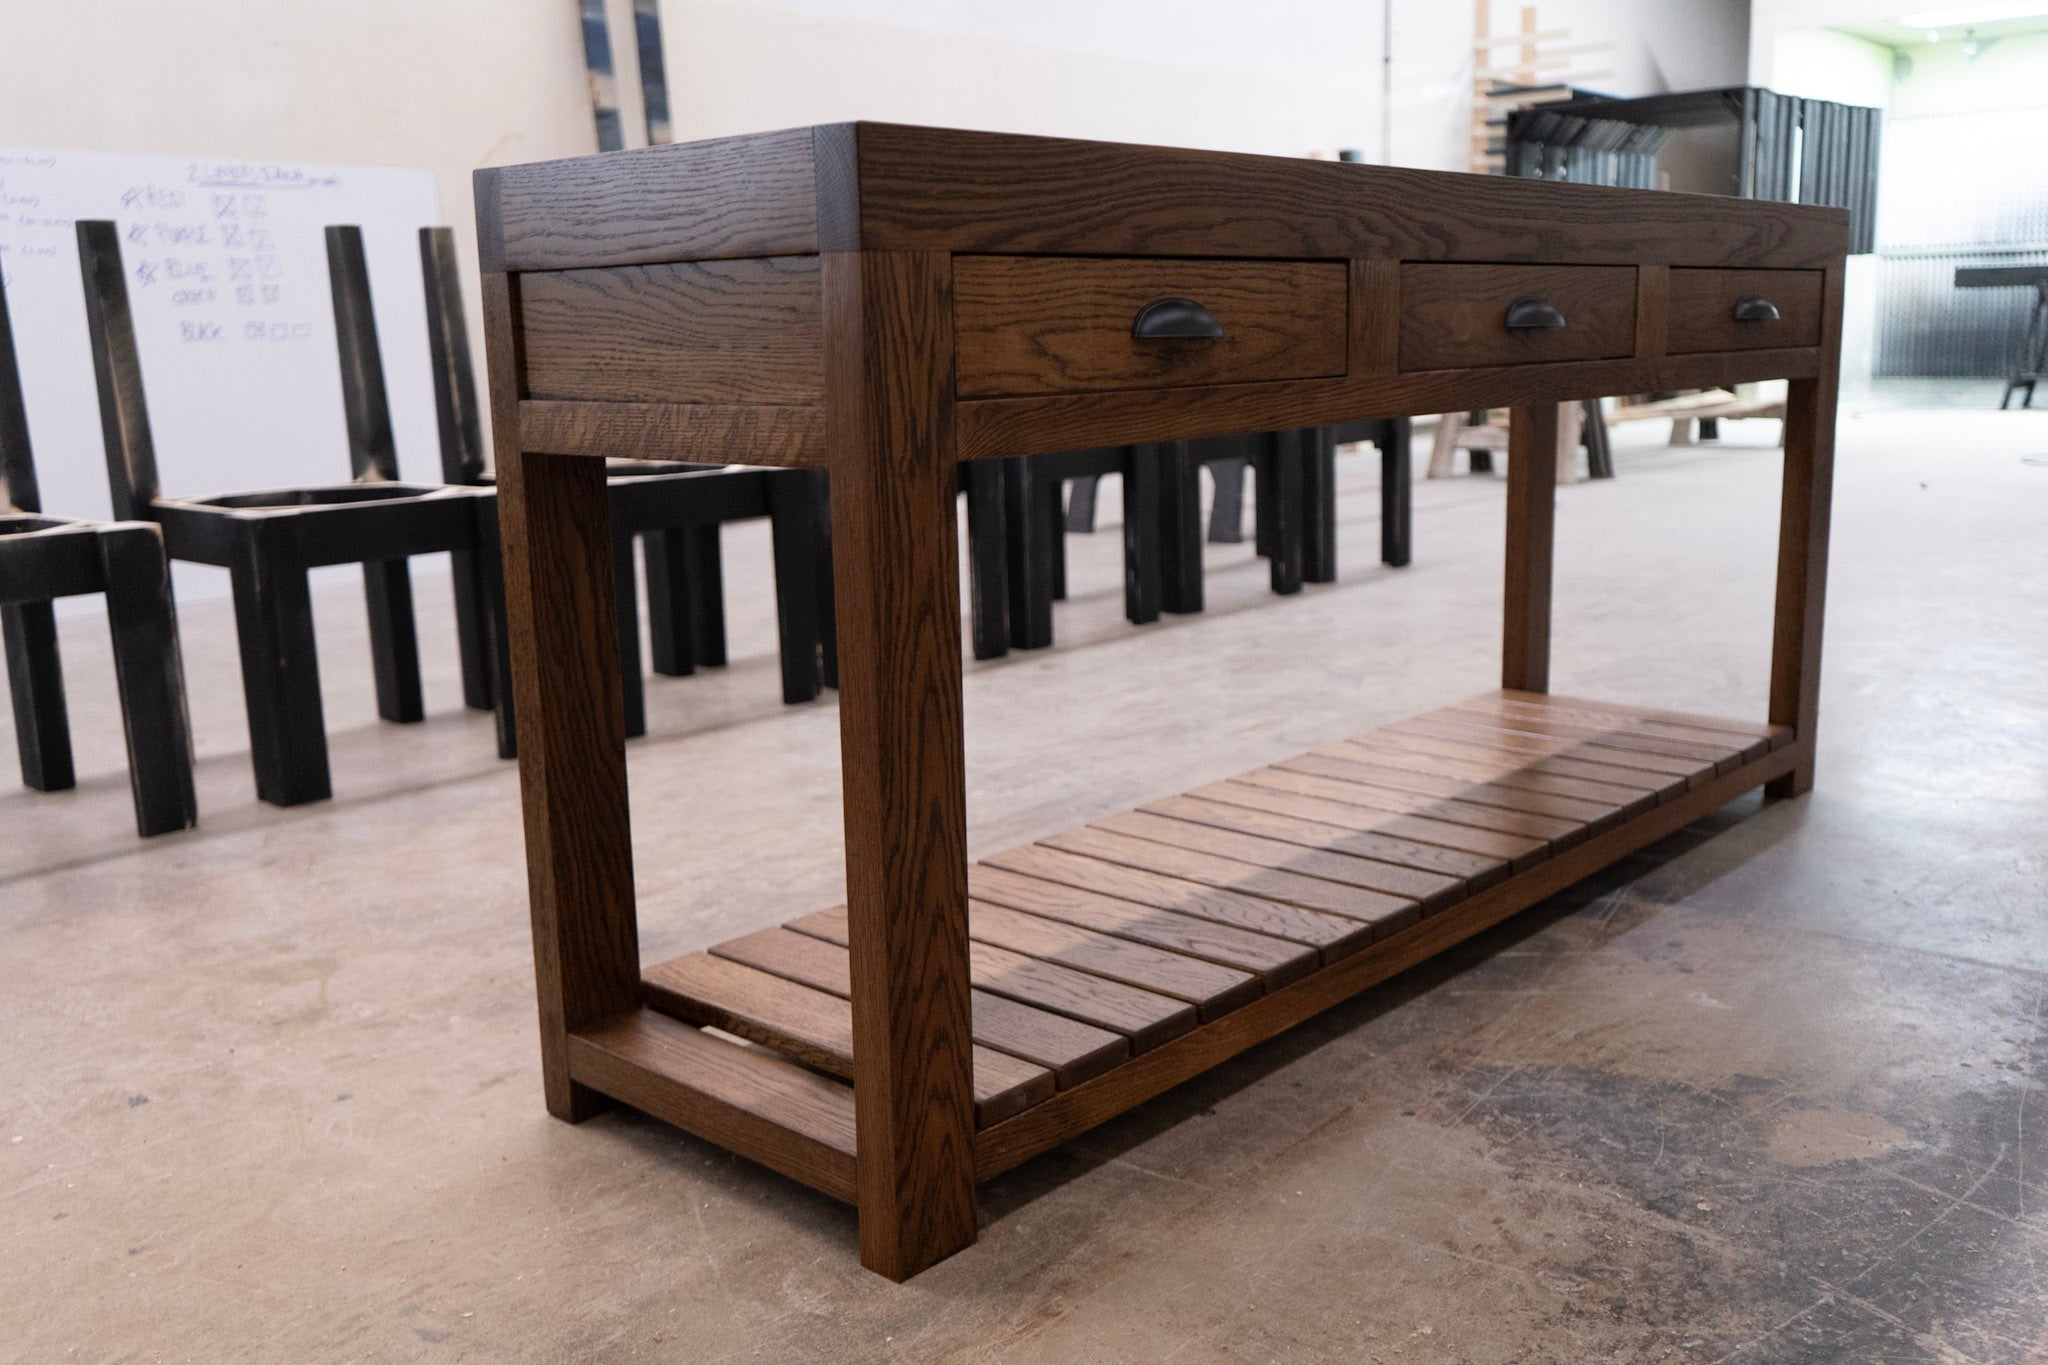
From Board to Beauty: How We Handcraft Every Tabletop

People often ask me, “How do you actually build these tables?”
It’s a fair question—especially when you realize how much happens behind the scenes before that final piece is wrapped up and delivered.
So I wanted to walk you through our full process, step-by-step, and explain how we take raw lumber and turn it into a finished piece that’ll last for generations.

Step 1: Hand-Selecting the Wood
Every table starts with the boards we choose—and honestly, this is one of the most important steps. We don’t just grab any slab of wood. We look for pieces that have minimal knots, no cracks, clean grain patterns, and a natural balance in tone.
Why? Because once the table is done, the boards you see are the star of the show. If we choose poor-quality wood from the beginning, no amount of sanding, staining, or sealing will hide that. A beautiful table starts with beautiful lumber.

Step 2: Cutting to Length
Once we’ve chosen our boards, we head over to the miter station to cut them down to the ideal length.
The miter saw allows us to make precise 90° cuts. This is crucial because even the smallest variation can throw off the entire glue-up later. We cut each board to match the overall table length, whether that’s a cozy 48” or a show-stopping 108”.

Step 3: Cutting to Width
Next, we bring the boards to our table saw to rip them down to our desired width. This is where we really start shaping the size of the table.
Depending on the final width our customer requested, we repeat steps 2 and 3—cutting and ripping—until we have enough boards to meet the full size.
Each board has to be consistent in width, or else gaps will form later. This step is all about precision and prep.

Step 4: Jointing & Planing
Now that the boards are the right size, we joint and plane each one until they’re flat, straight, and square.
-
The jointer helps us flatten one face and square up one edge.
-
The planer then takes that flat face and brings the opposite side to a consistent thickness.
This is the foundation of a good glue-up. If the boards aren’t perfectly flat, your table will end up warped, bowed, or uneven.

Step 5: Laying Out & Gluing Up
This is the part where the boards really start to become a table.
We lay everything out like a puzzle, rearranging until the grain flows naturally from board to board. Once we’re happy with the layout, we apply wood glue to the edges and clamp the boards together using pipe clamps and parallel clamps to make sure the top is flat and tight.
We usually let it cure overnight. No shortcuts here—a strong glue-up is what holds your table together for years to come.


Step 6: CNC Flattening & Edge Work
Once the glue has cured, the top is ready to be flattened and cut to its final shape using our CNC (Computer Numerical Control) machine.
The CNC makes sure your table is perfectly flat, which is especially important for large pieces. It also lets us add any custom edge details—rounded corners, chamfers, bevels, or whatever your design calls for.
If the table is over 60” in diameter or width, we can’t use the CNC due to size limitations—so we flatten and shape those by hand. It takes longer, but we’ve mastered the technique.

Step 7: Sanding & Surface Prep
Now it’s time to smooth everything out. We sand the top thoroughly, gradually working our way up in grits to make the surface feel seamless. If there are any tiny knots, cracks, or crevices, we fill them with wood putty, then re-sand to blend everything in.
This step isn’t just about looks—it’s about how the table feels when you run your hand across it. No one likes a rough patch or raised edge.

Step 8: Staining
Once the top is buttery smooth, we move on to staining.
We always stain with the grain to ensure an even, consistent color. After applying, we let the wood absorb the stain naturally, then wipe off the excess. This allows the color to sit deep in the fibers and bring out the richness of the grain without masking it.
Step 9: Applying the Clear Coat
After the stain dries, it’s time to seal it all in.
We apply 3–4 coats of lacquer, lightly scuff-sanding and wiping between each coat to keep the finish smooth. Lacquer dries quickly and gives the wood a soft, natural feel while still offering solid protection from moisture and everyday wear.
This step used to take us forever—we started off brushing each coat by hand with polyurethane. But now we use professional-grade spray equipment for a flawless, consistent finish.

Step 10: Ready for Delivery
After a couple of days of curing and a final inspection, the table is ready to head to its new home.
Each piece we deliver has passed through 10 meticulous steps, multiple machines, and a whole lot of hands-on craftsmanship. We don’t mass-produce. We don’t take shortcuts. We build tables like they’re going to our own homes—because sometimes, they are.

Whether you're ordering a dining table, coffee table, or a custom piece made just for you, this is the process it goes through. Every board, every corner, and every coat is intentional—and we’re proud of that.
Thanks for following along,
— David


Leave a comment