Behind the Build: How We Make Our Cone Bases
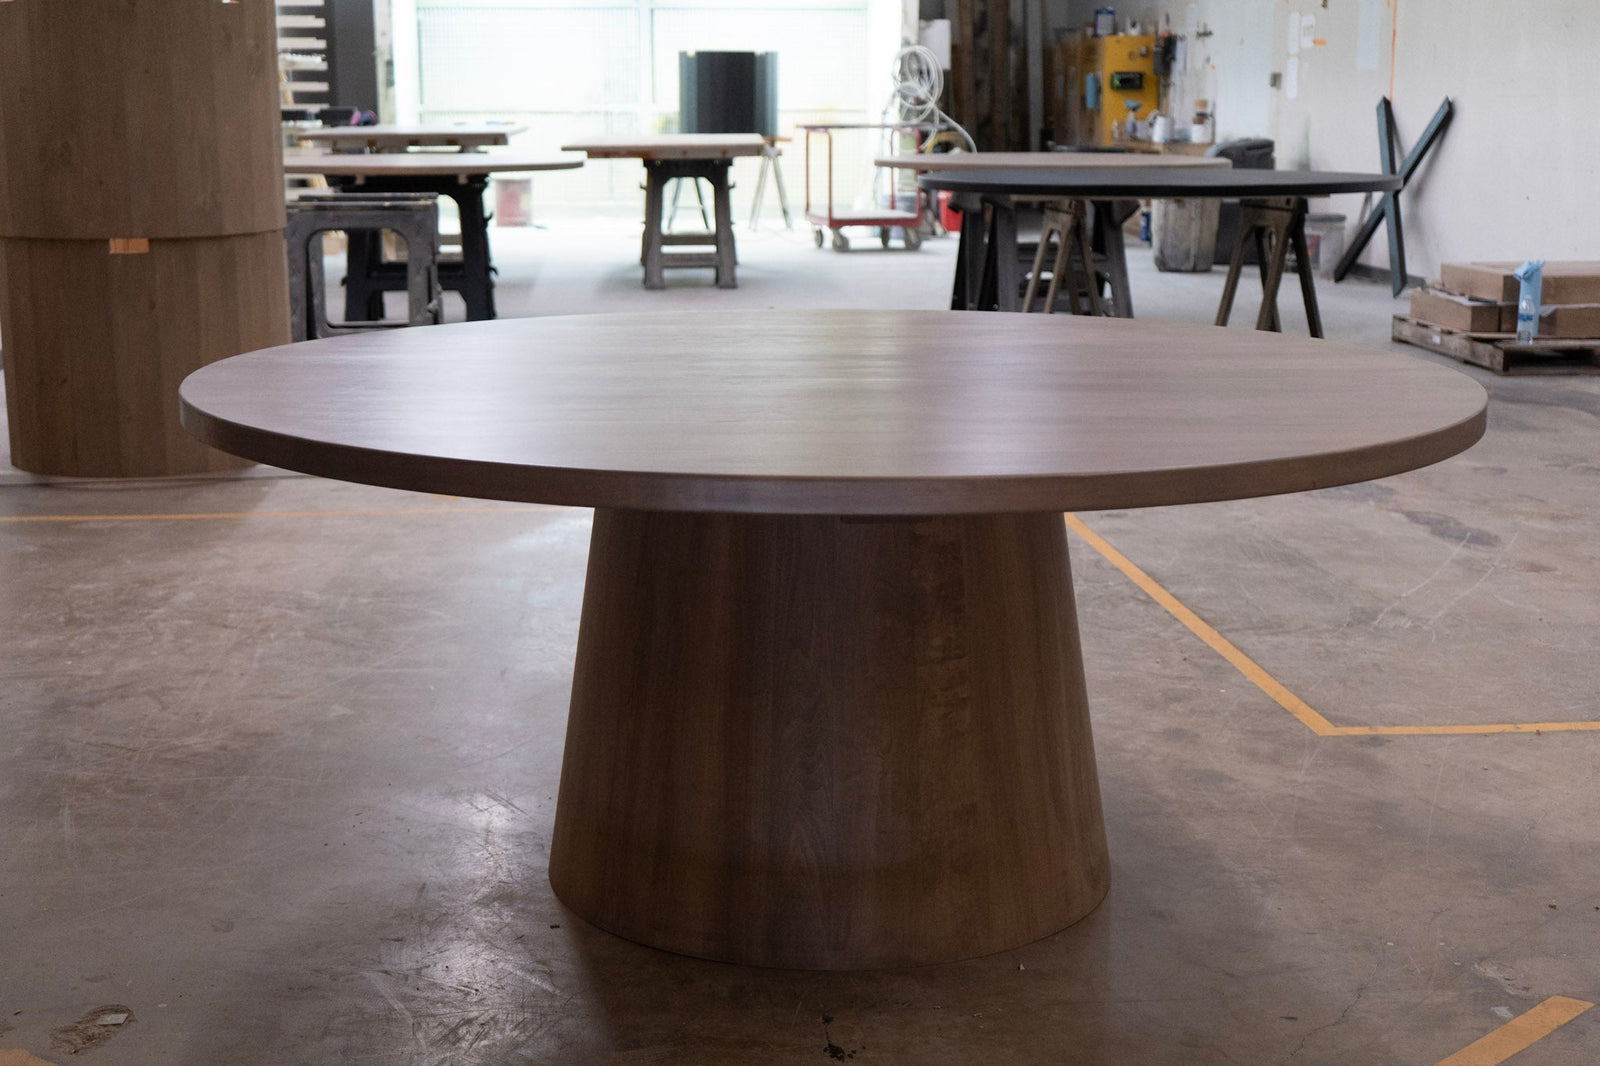
The Cone Bases are one of those pieces that immediately catches the eye. It’s sculptural, modern, and timeless — the kind of design that feels simple but takes a surprising amount of precision to get just right.
Each base starts as a series of flat boards and ends up as a seamless, tapered cone — all by hand, right here in our shop. Here’s how we make it happen.
1. Cutting the Pieces
The process starts with math, patience, and a lot of precision.
Each board is sliced at a specific degree on both sides so that, when assembled, they taper perfectly toward the top. We also cut the bottom of each board at a set angle so the base stands upright and stable.
Every board has to match — same size, same angle — to ensure that when it’s glued up, the cone is symmetrical and balanced.


2. Gluing It Up
Once all the boards are cut, we carefully glue them together to form the cone. This step is slow and deliberate — it’s like building a puzzle where every piece must line up perfectly. Once everything is clamped and secured, we leave it to fully cure so it holds its shape solidly.


3. Routing for a Seamless Shape
After the glue has set, the cone is ready for shaping.
We use a custom-made cone routing jig — something we built ourselves — to refine the shape and remove any high spots or uneven areas. This helps us achieve that clean, smooth, and consistent taper that makes the Cone Table so striking.


4. Sanding to Perfection
From there, it’s all about the details. We meticulously sand every inch of the cone by hand. The goal is to make it feel seamless — no visible joints, no rough spots, just a silky-smooth surface that feels as good as it looks.
5. Adding the Notches for the Top X
After sanding, we cut notches into the top of the cone. These notches are where the top X will later sit.
The top X is a structural piece that connects the cone base to the tabletop and provides additional support underneath — helping distribute the weight evenly and keeping everything secure for years of use.
6. Staining and Lacquering
Once the sanding is complete, the cone moves to finishing.
We apply the chosen stain to highlight the grain and tone of the wood, then seal it with multiple coats of lacquer for protection and a subtle sheen. The lacquer not only enhances the color but also ensures durability for years of everyday use.


7. Assembly and Final Touches
Once the lacquer has fully cured, we move on to assembly.
The top X gets fitted perfectly into the notches we cut earlier, locking the structure together and giving the tabletop a solid foundation. After that, we add the tabletop, double-check alignment, and give everything one last inspection.


Then it’s ready to be wrapped, protected, and prepared for delivery to its new home.


A Sculptural Base with Purpose
What we love most about the Cone Table is its balance of art and engineering. It’s bold yet minimal, handcrafted yet refined. And no two are ever exactly alike — each one has its own unique wood grain and character.
From a pile of boards to a sculptural showpiece, every Cone Table is a reminder that craftsmanship is all about the details.


Leave a comment